Troubling Toilets!!!
We're still here after fitting the toilet - just about.... No walls came down, there was only 3 or 4 miniature floods(!) and the toilet is more or less in and just needs fixing into place properly!
For a few different reasons, we didn't get started on it yesterday until about 3PM. We started by removing the old toilet 'throne' first followed by the vacuum unit that was in the bedroom. I've always hated having the vacuum cassette in the bedroom, not only because it's not a nice idea (toilet contents in the bedroom! Eww!) but because it was hideously boxed in and was in a place that was basically in the way!
The new toilet is a Dometic CTS4110 and the cassette sits directly underneath the actual toilet, which means everything is in the bathroom - where it should be!
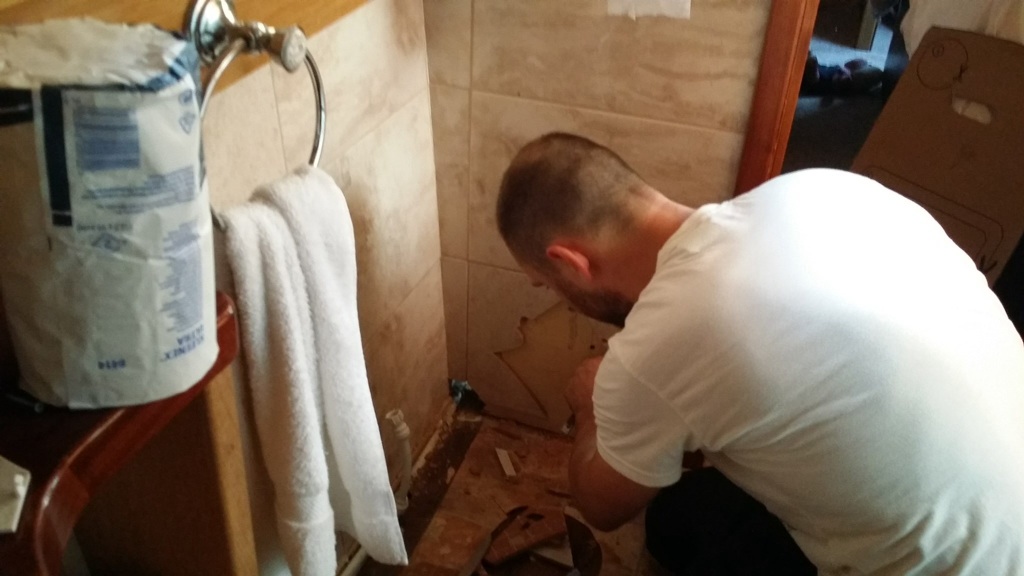
Old toilet just behind the new one:

If you have a look just behind Pav's shoulder, you can see what looks like a brown leather box - thats where the old vacuum cassette lived.
Anyway, all that will go now and will be replaced with a nice miniature corner desk. Of course, it also means that we will need a new piece of carpet in the bedroom as the carpet we fitted in there was put in after the toilet, so when we remove all that boxing in there'll be a missing square piece of carpet. It's not ideal, as everything like that costs money! Not only that but the carpet in there now is a really expensive, thick carpet that hasn't been in too long and is in perfect condition.
Back to the toilet fitting....
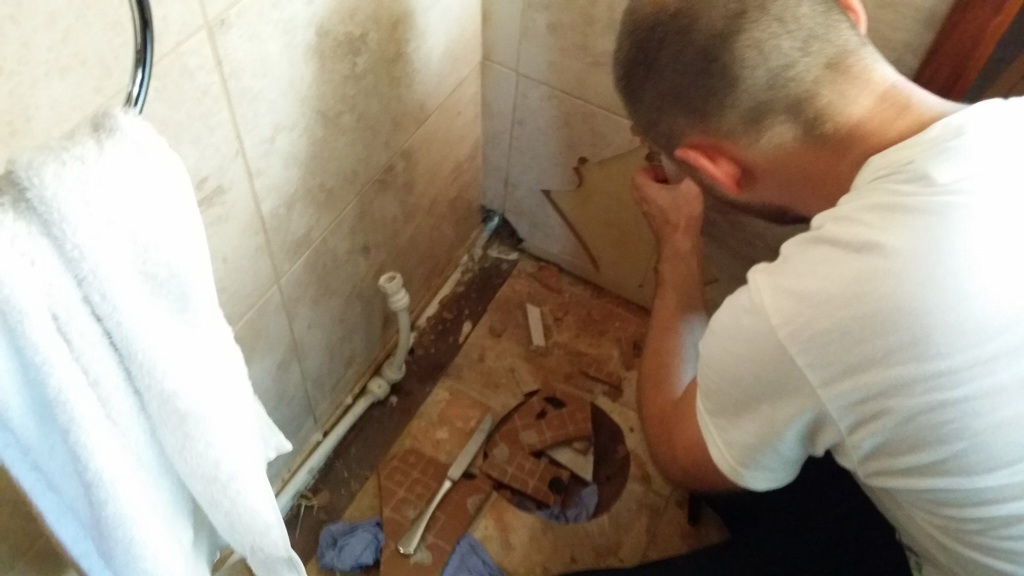
- After removing the old toilet, it was a case of trying to knock off one of the wall tiles as we needed to make an access hatch that we can remove the cassette from on the bedroom side
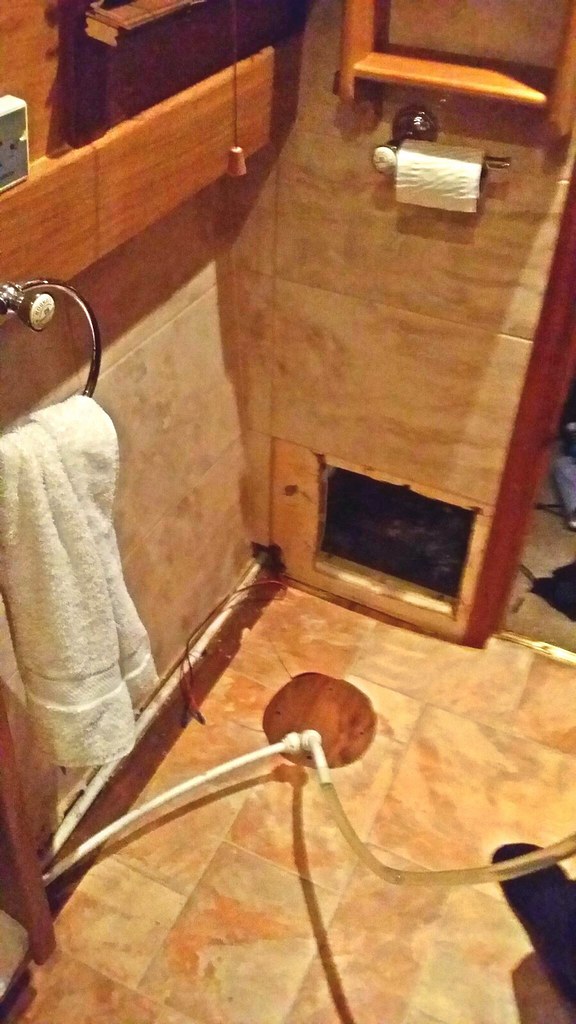
- I then templated the wall in the bedroom so I could cut a square in the wall which I will fit the service door into.
Look at the concentration in my face in this pic!!
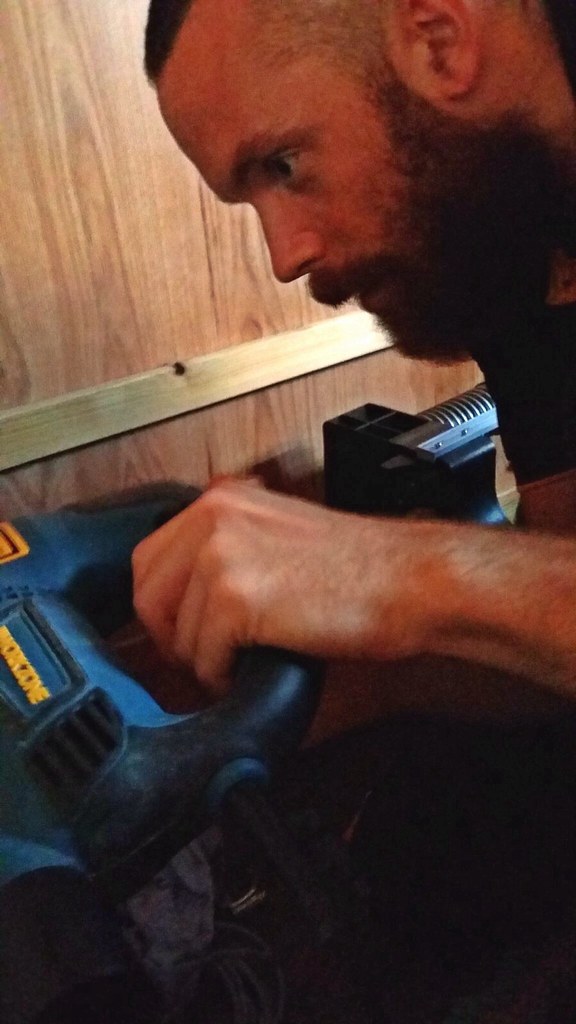
I was absolutely bricking it as I built the dividing cabin walls in the boat and I couldn't remember where batons and screws were that supported the actual wall! Not only that but I'm....erm.... Not really confident in my wall building abilities!
I was convinced I was going to put the jig in and literally have the wall collapse on us! We got there in the end, I couldn't believe it - but there were no batons at all in that section I'd cut out, but directly either side of the cut out! That's what I call "PURE LUCK!"
(Sorry for the quality of some of the pictures, but it was nearly 11PM when some of these were took.)
Luckily, we also only had to remove one tile as that leaves plenty of room for the cassette to be removed. All that was needed after was to connect the electronics and water supply.

The water connection leaked several times and ended up going under the lino about 3 or 4 times in total which meant we had to keep lifting that up and drying it - total nightmare! I think lifting the lino and drying it took more effort and time than the actual toilet fitting! Finally at 12:30AM, it was all in place and we were all tidied up, vacuumed, dusted(OCD!) and washed up from dinner!
Today, we just have to bolt the unit into place, cover some fixings up, fit the service door and see if we can get a small piece of tile to cover an area just at the side of the toilet where the wall is exposed.
All that shouldn't take too long, so today shouldn't be as manic as yesterday! Look out for part 2 and I will take more pictures too!
The only thing I'm nervous about now is what it's actually going to be like to use etc. Our old vacuum toilet had no smell at all or anything because it was vacuumed. I'm not sure if ordinary cassette toilets smell or not as everything is just in the box below!?
If there are any cassette users out there - leave me a comment and let me know!
Great to hear from Carol, Adam and Sue yesterday. Thanks for leaving a comment guys, it's great to here from you and gives me motivation to keep posting!
For a few different reasons, we didn't get started on it yesterday until about 3PM. We started by removing the old toilet 'throne' first followed by the vacuum unit that was in the bedroom. I've always hated having the vacuum cassette in the bedroom, not only because it's not a nice idea (toilet contents in the bedroom! Eww!) but because it was hideously boxed in and was in a place that was basically in the way!
The new toilet is a Dometic CTS4110 and the cassette sits directly underneath the actual toilet, which means everything is in the bathroom - where it should be!
Old toilet just behind the new one:
If you have a look just behind Pav's shoulder, you can see what looks like a brown leather box - thats where the old vacuum cassette lived.
Anyway, all that will go now and will be replaced with a nice miniature corner desk. Of course, it also means that we will need a new piece of carpet in the bedroom as the carpet we fitted in there was put in after the toilet, so when we remove all that boxing in there'll be a missing square piece of carpet. It's not ideal, as everything like that costs money! Not only that but the carpet in there now is a really expensive, thick carpet that hasn't been in too long and is in perfect condition.
Back to the toilet fitting....
- After removing the old toilet, it was a case of trying to knock off one of the wall tiles as we needed to make an access hatch that we can remove the cassette from on the bedroom side
- I then templated the wall in the bedroom so I could cut a square in the wall which I will fit the service door into.
Look at the concentration in my face in this pic!!
I was absolutely bricking it as I built the dividing cabin walls in the boat and I couldn't remember where batons and screws were that supported the actual wall! Not only that but I'm....erm.... Not really confident in my wall building abilities!
I was convinced I was going to put the jig in and literally have the wall collapse on us! We got there in the end, I couldn't believe it - but there were no batons at all in that section I'd cut out, but directly either side of the cut out! That's what I call "PURE LUCK!"
(Sorry for the quality of some of the pictures, but it was nearly 11PM when some of these were took.)
Luckily, we also only had to remove one tile as that leaves plenty of room for the cassette to be removed. All that was needed after was to connect the electronics and water supply.
The water connection leaked several times and ended up going under the lino about 3 or 4 times in total which meant we had to keep lifting that up and drying it - total nightmare! I think lifting the lino and drying it took more effort and time than the actual toilet fitting! Finally at 12:30AM, it was all in place and we were all tidied up, vacuumed, dusted(OCD!) and washed up from dinner!
Today, we just have to bolt the unit into place, cover some fixings up, fit the service door and see if we can get a small piece of tile to cover an area just at the side of the toilet where the wall is exposed.
All that shouldn't take too long, so today shouldn't be as manic as yesterday! Look out for part 2 and I will take more pictures too!
The only thing I'm nervous about now is what it's actually going to be like to use etc. Our old vacuum toilet had no smell at all or anything because it was vacuumed. I'm not sure if ordinary cassette toilets smell or not as everything is just in the box below!?
If there are any cassette users out there - leave me a comment and let me know!
Great to hear from Carol, Adam and Sue yesterday. Thanks for leaving a comment guys, it's great to here from you and gives me motivation to keep posting!


Comments
Post a Comment
TO POST A COMMENT, SIMPLY TYPE YOUR MESSAGE IN THE COMMENTS BOX BELOW (IT MIGHT BE ABOVE THIS MESSAGE DEPENDING ON HOW YOUR BROWSER DISPLAYS THINGS!)
THEN, SELECT "ANONYMOUS" FROM THE DROP DOWN MENU BELOW THAT AS THAT IS THE EASIEST WAY TO SAY HI TO ME!
DON'T FORGET TO LEAVE YOUR NAME ;)